


.jpg)
.jpg)


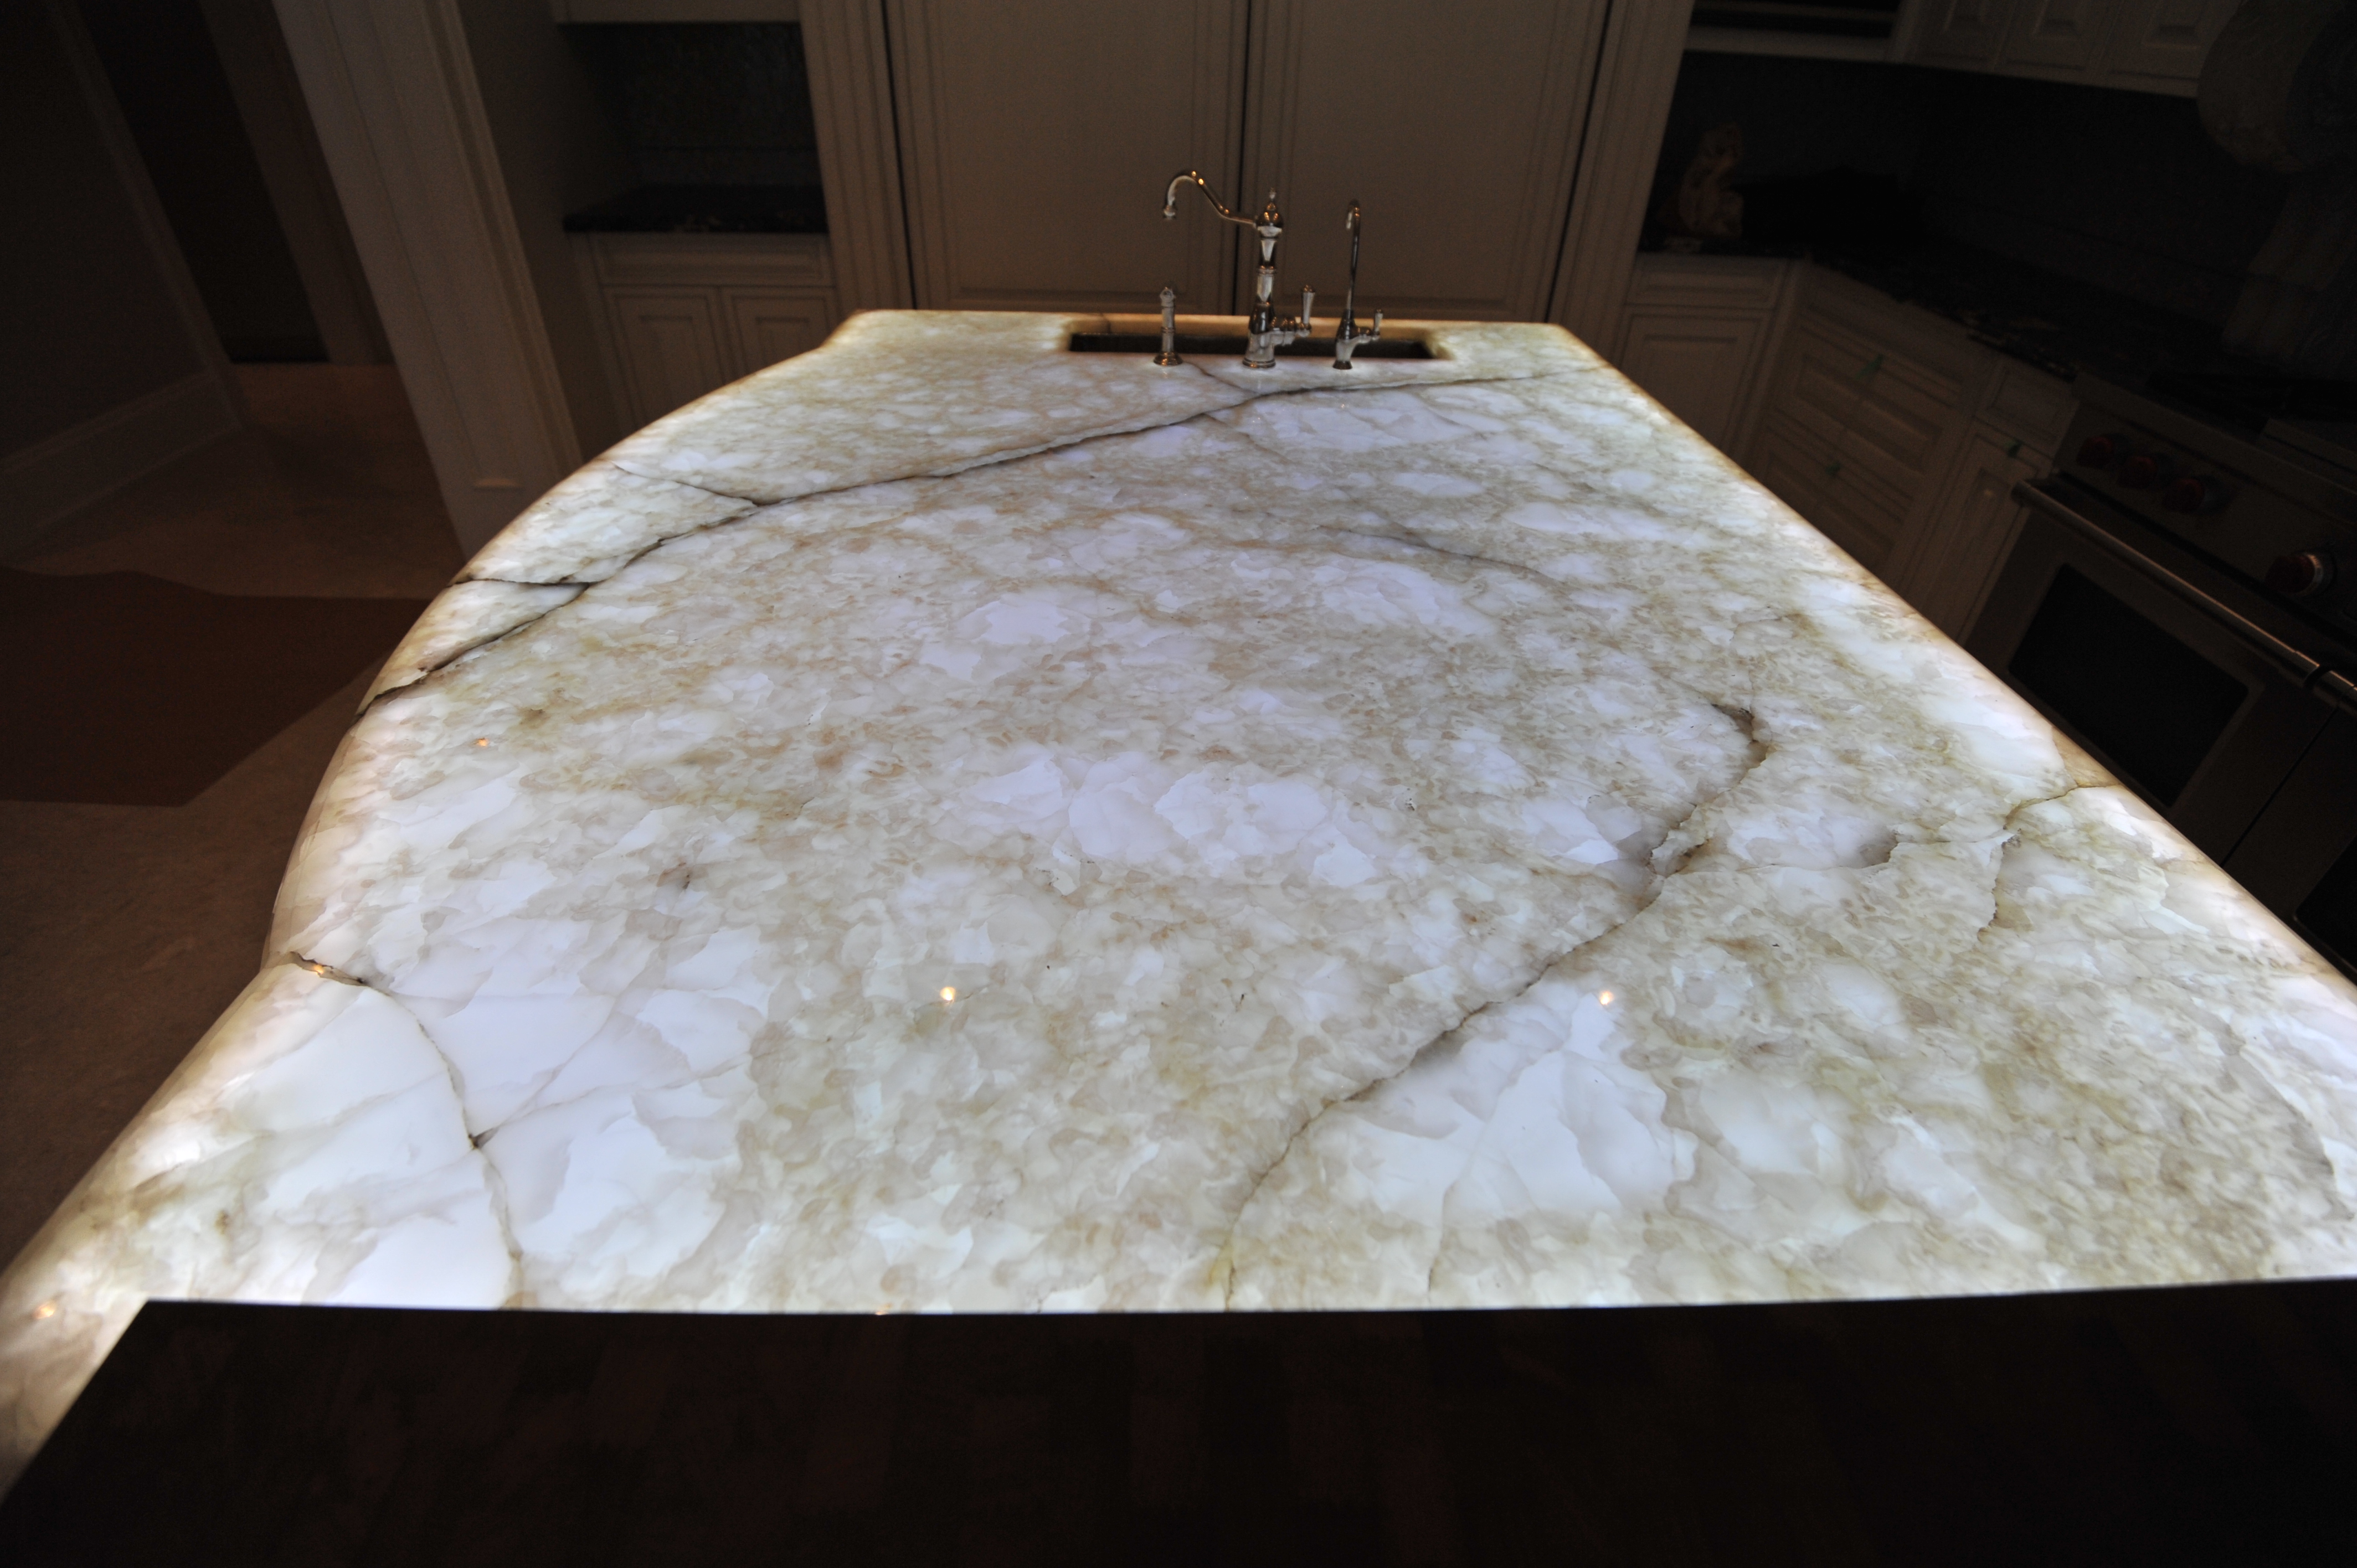
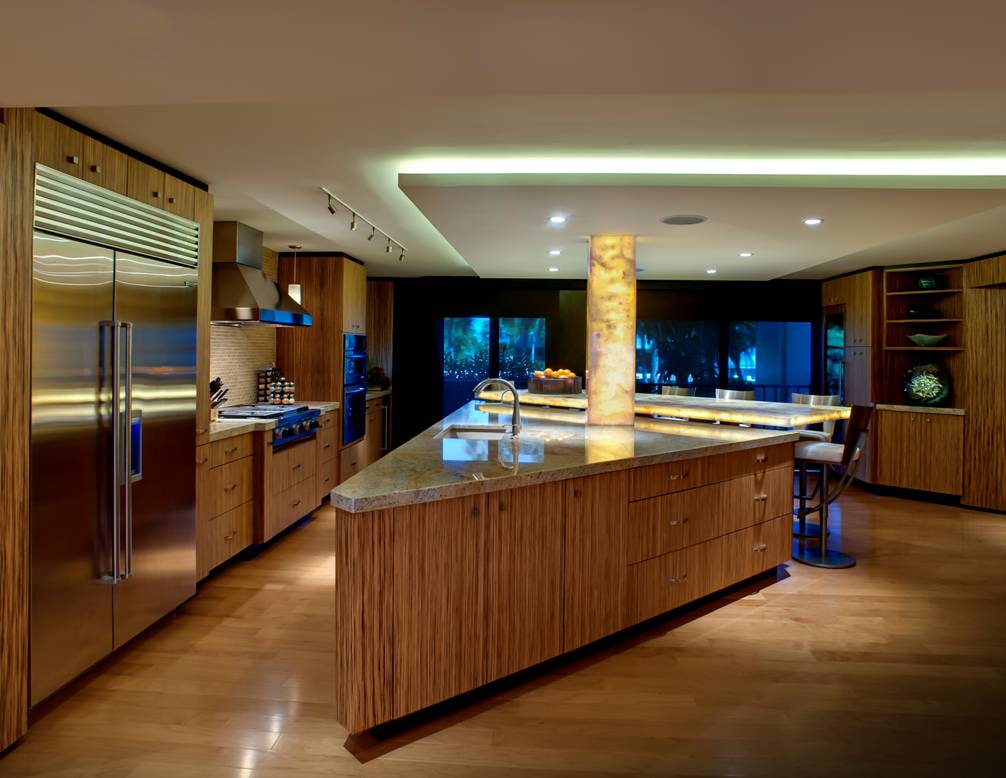
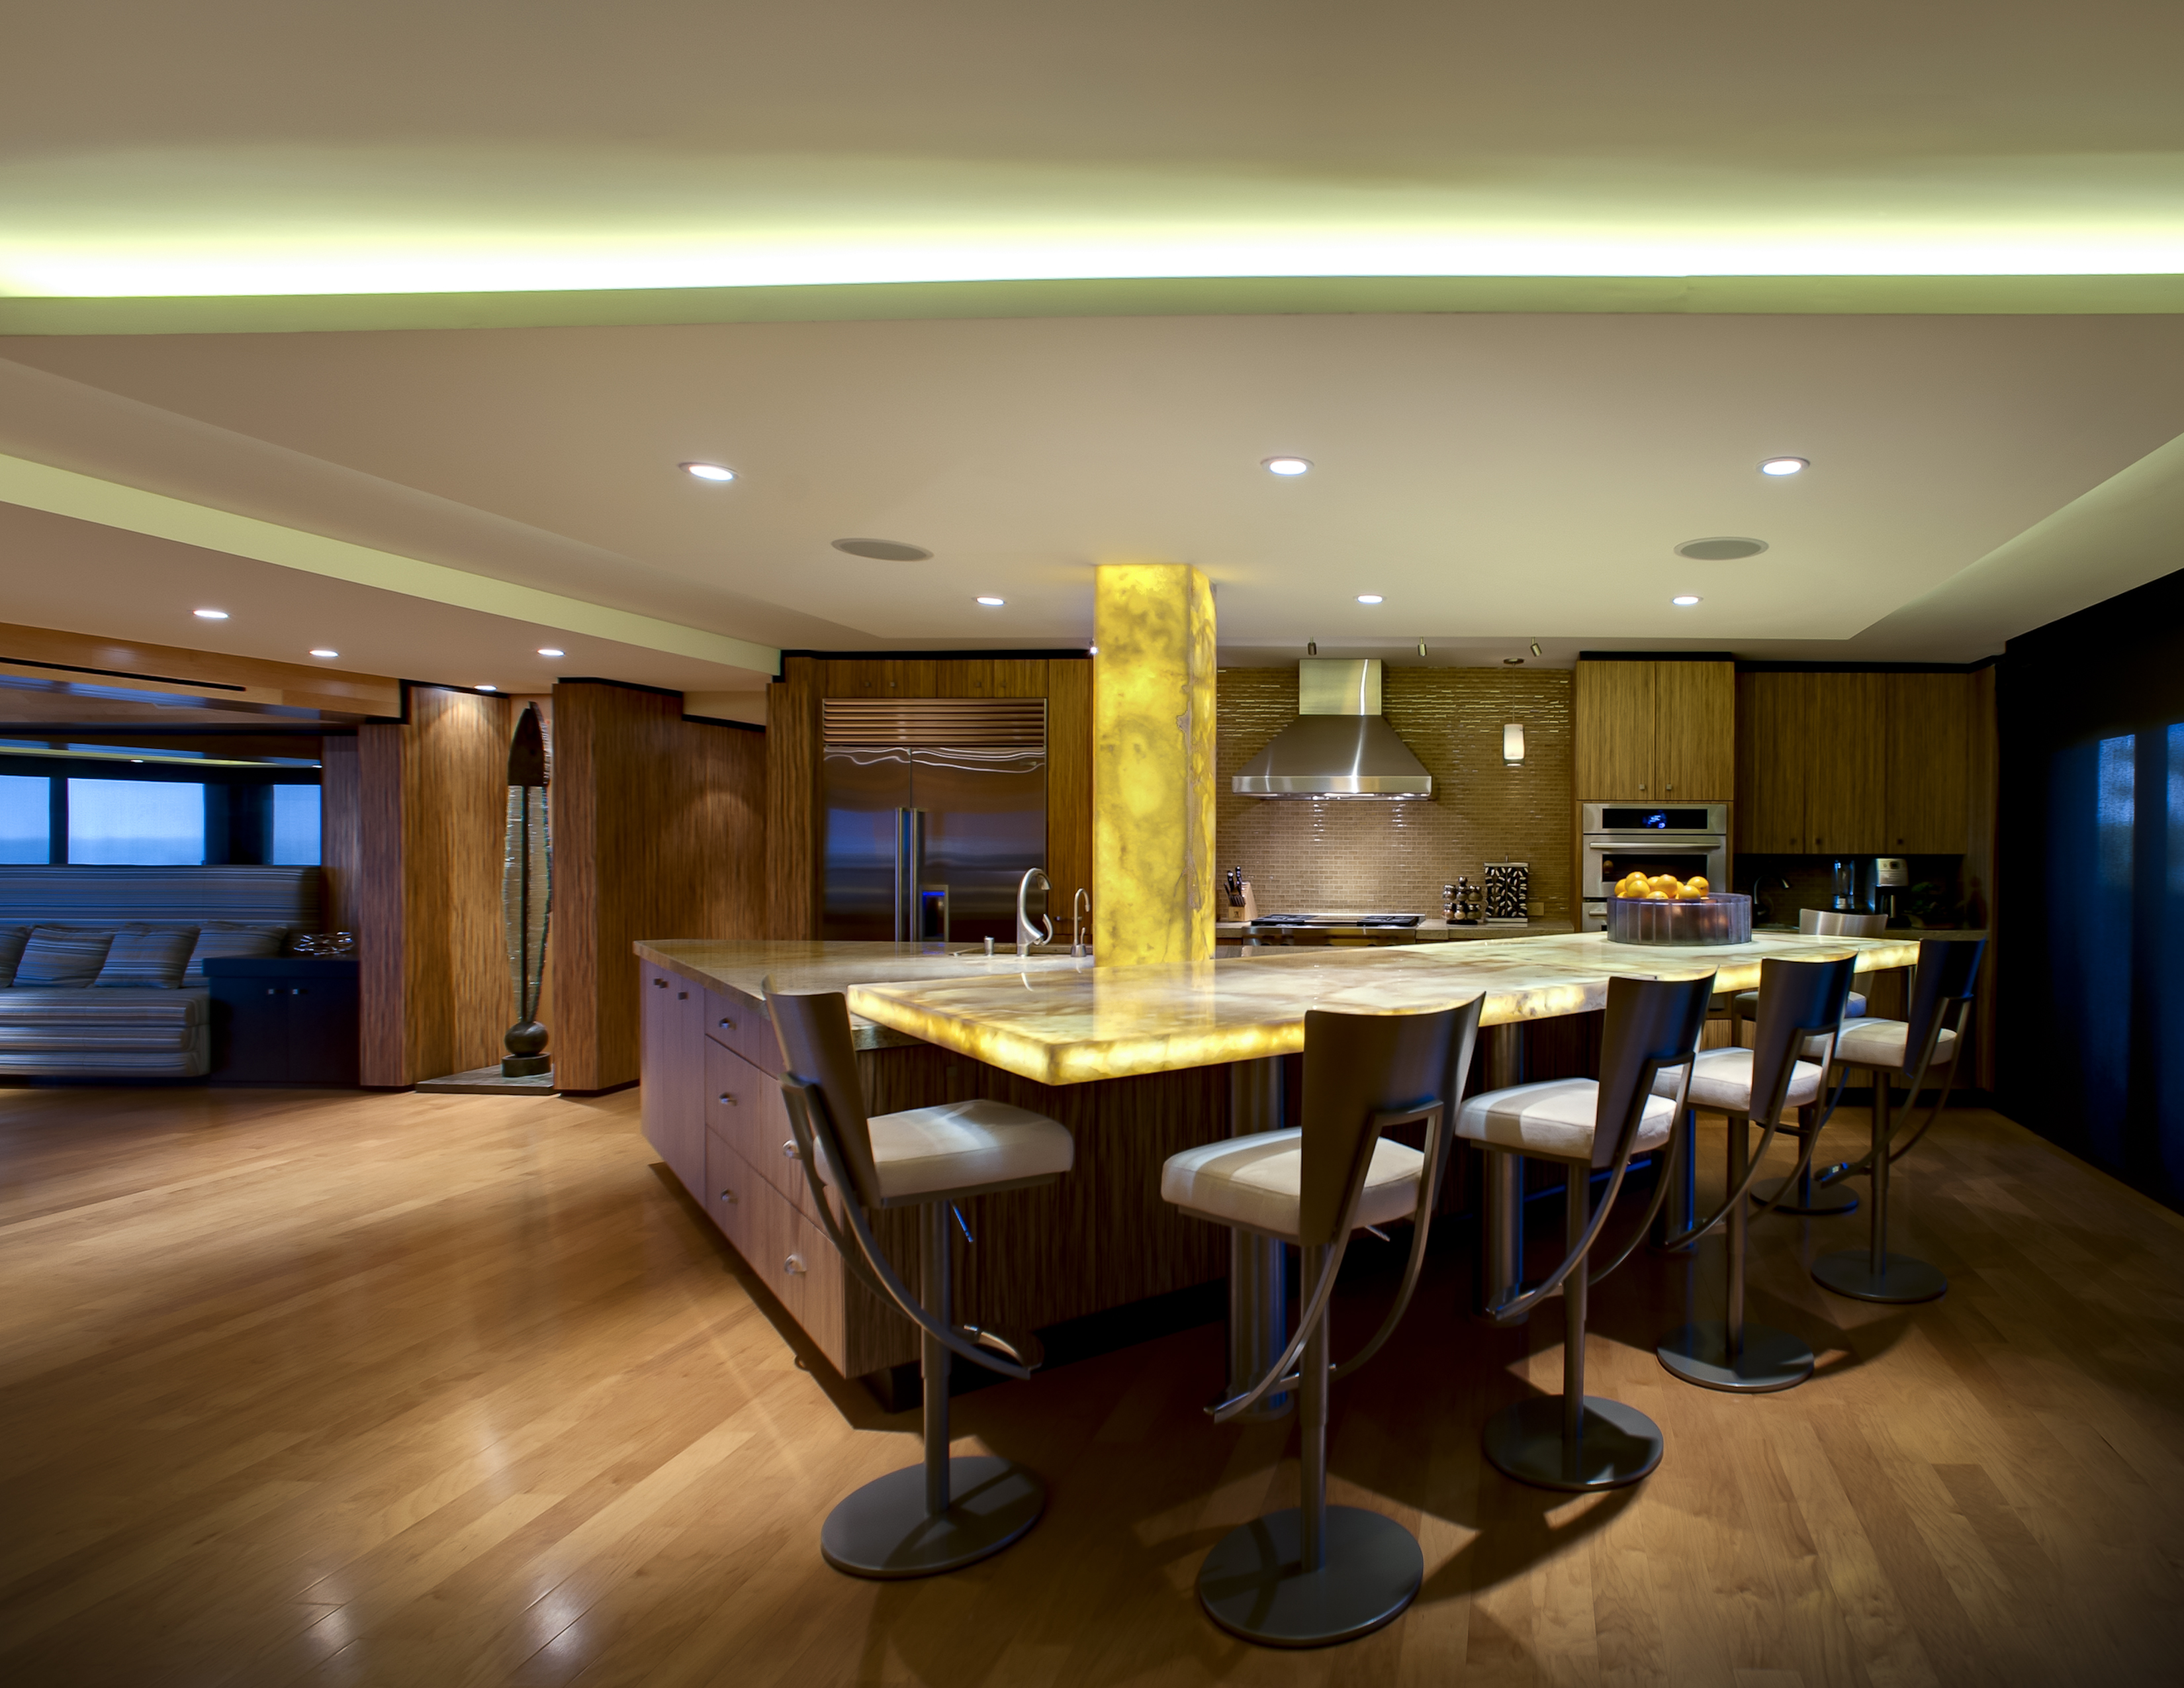
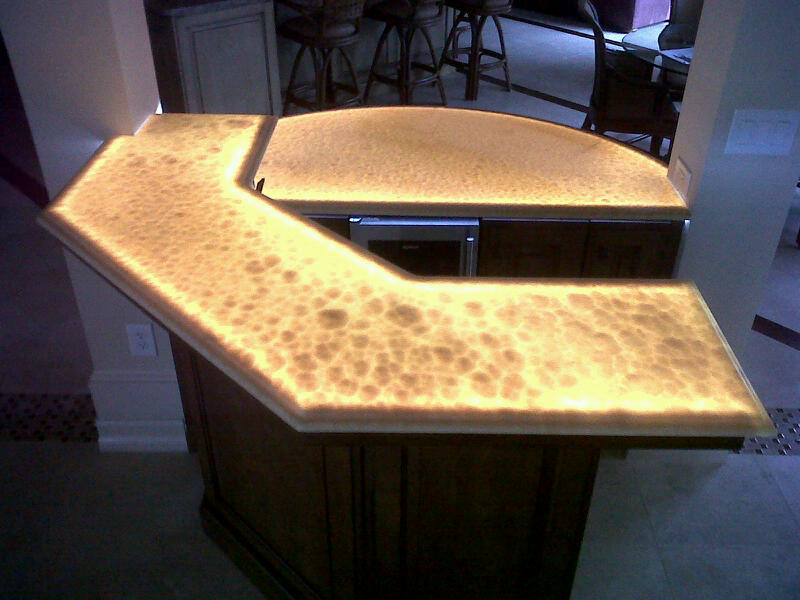
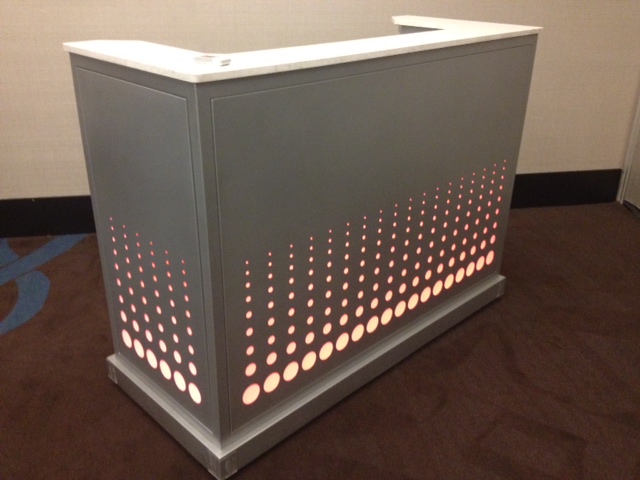
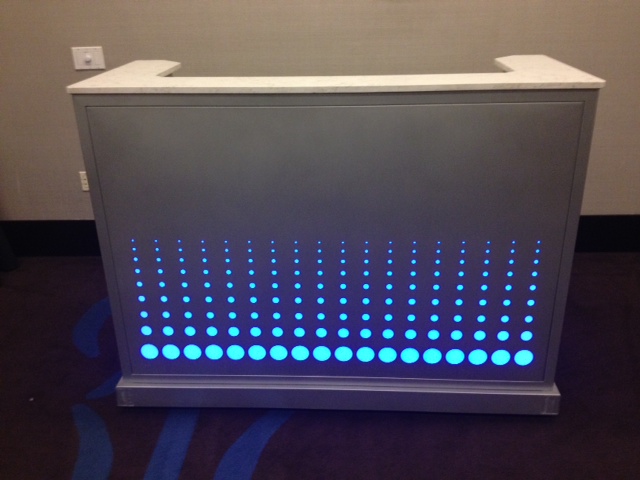
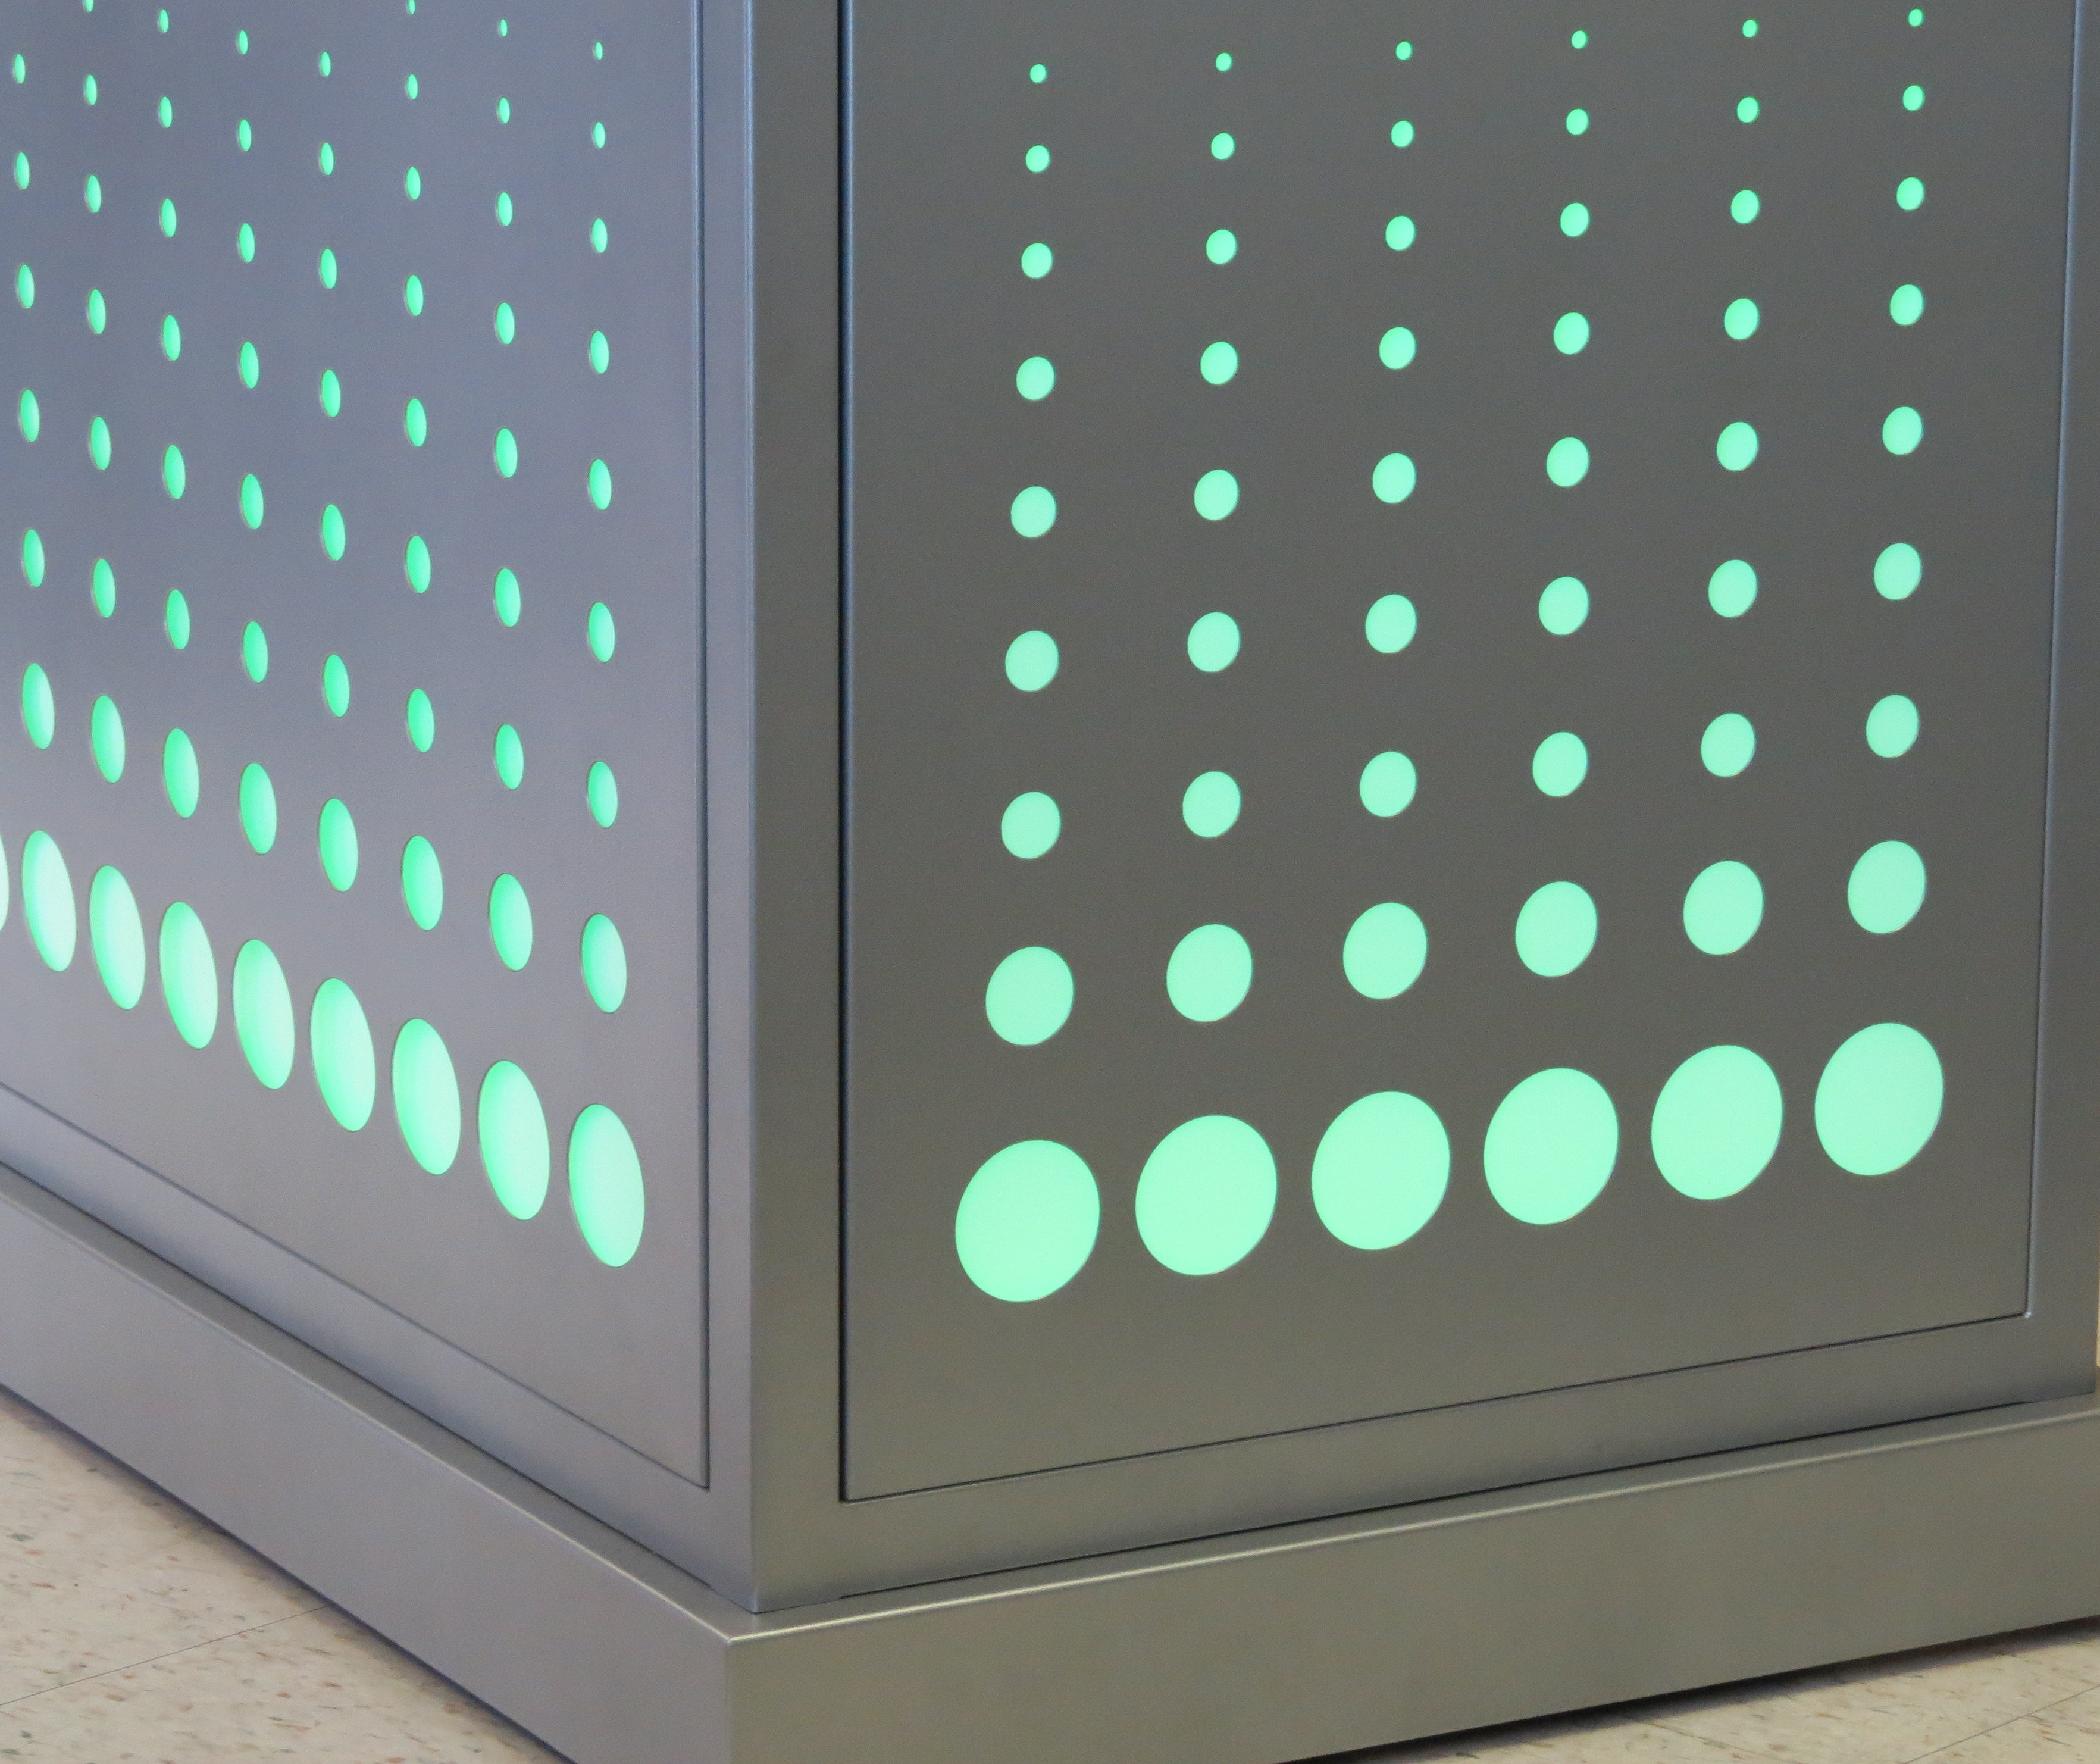
LumaPex™ Installation & Care
Installation:
- When unpacking and handling the LumaPex™, be especially mindful of the wiring. It is a small gauge wire and can detach from the LEDs. A clear strain relief has been applied to reinforce this connection.
- LumaPex™ can be machined similarly to hardwoods, but use a slower RPM to avoid heat buildup.
- Be conservative when cutting LumaPex™. Removing too much material will significantly decrease the structural strength of the remaining material.
- Do not apply any glues, paints, or sealants to the surface or edge of the LumaPex™. Any viscous material placed on the surface of the LumaPex™ will become emissive and create "hot spots" and/or disrupts the balance of the dispersion pattern.
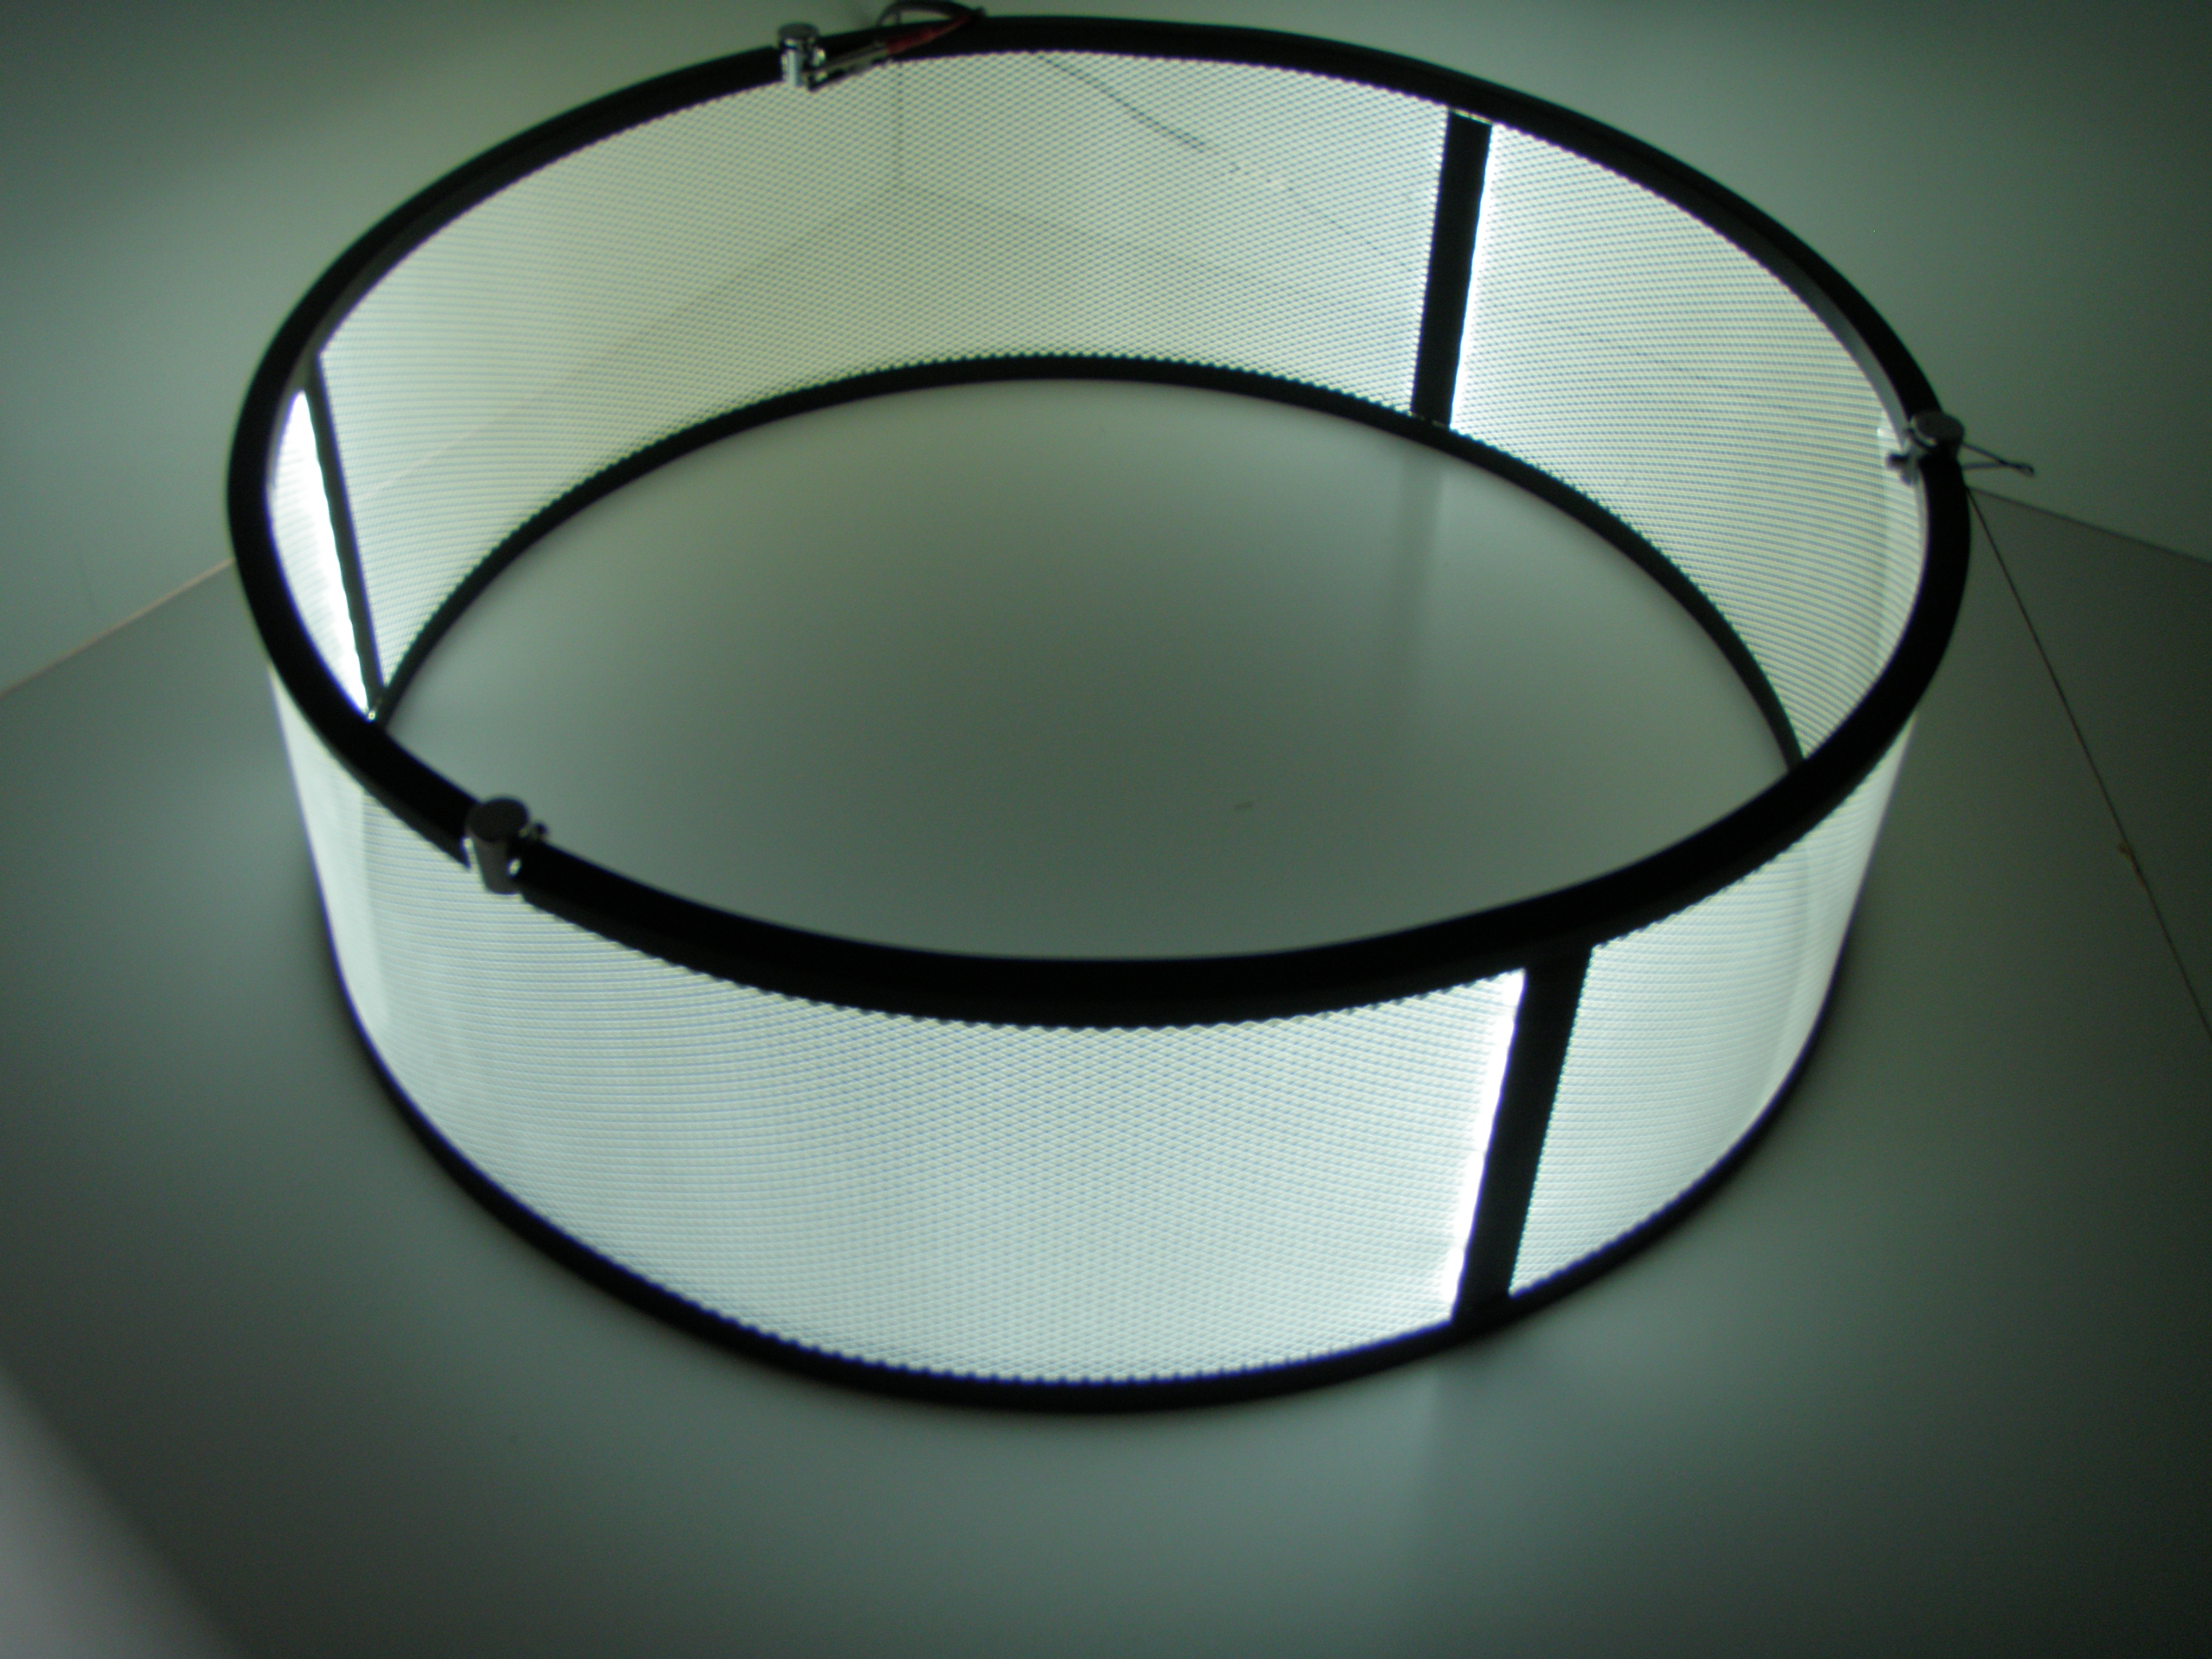
- The LEDs and copper/aluminum heat sink are affixed to the edge of the LumaPex™. Please provide at least ¼" of air-gap so that the LEDs have sufficient ventilation.
- The LEDs and heat sink MAY GET HOT. Although not dangerous, it may be uncomfortable to sensitive skin and should be protected.
- Attach wires with the white trace to the positive screw terminals and the other wire to the negative screw terminals.
- Attaching the ground is not required by the product but may be installed if required by code.
- Use the rheostat located at the far right side of the terminal block on each driver to set the desired brightness and blend the light intensity between core and contour lamps. Excessive brightness causes excessive heat and may reduce the lifetime of the LEDs.
- If your LumaPex™ includes contour/outward facing LEDs, these will be wired separately for use with a separate driver for light balancing.
- The white styrene is used to block and reflect light from one side of the panel. Its use is optional but recommended.
Care:
- When cleaning LumaPex™, do not use alcohol. Instead use a mild soap solution and smooth cloth.
- Although much stronger than glass, LumaPex™ will shatter if struck with sufficient force. Please handle as you would glass.